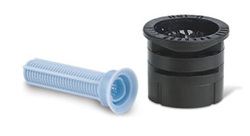
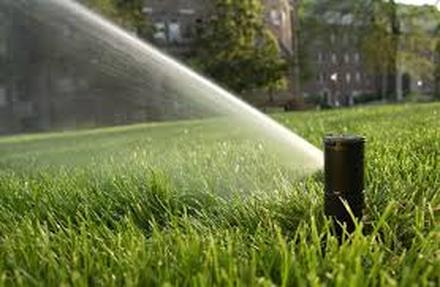
 Accidentally clipped your sprinkler head with the lawn mower or weed trimmer? Have an old, cracked nozzle that just isn't working? Try the remedy below. There are many brands and styles of sprinklers out there, though for the purpose of this post, we'll look at a simple nozzle repair on a Rainbird sprinkler. Firstly, it's great to have a few of each different type of heads on standby so you don't have to run to the store. Along with knowing your brand, there are also different types of spray heads (360-deg, 90-deg, etc.). Take a look at the types of heads you have now and plan on stocking up. Next, turn off the water to that system (by using your automatic timer control panel or the shut-off valve for a manual system). Whether you have a sprinkler head that pops up or a riser (which sticks up out of the ground), the nozzle will screw off in an anti-clockwise direction. You may need to use a small flathead screwdriver to pop the nozzle up before unscrewing. Under the nozzle will be a long plastic 'screen' that you can check for clogging. Rinse out or replace as necessary — note that cleaning out a dirty screen can often solve your problem. Now it's time to screw in your new nozzle. Check to see that the grooves are pointed in the correct direction for your spray. And that's it. You're ready to turn your system back on and check your work. You can always turn the water back off and adjust the head if necessary, though it's okay to do it while the water is spraying, too. Need further assistance? Contact us for any of your repair needs.
0 Comments
Your comment will be posted after it is approved.
Leave a Reply. |
AuthorGreg Stout has over 30 years of experience in the landscape and irrigation industry. Born in Illinois, Greg relocated to Hawaii in the 1970's and has been providing quality design and installation work to the people of Maui since 2000 as the owner of Maui Lawn & Landscape, LLC. Archives
March 2018
Categories
All
|


 RSS Feed
